
.jpg)
I am usually a planner and like to have things scheduled on the calendar far in advance. Although making the decision only five days before Justin & Mary Lighting Intensive seemed like last minute decision, it was sorta planned. Let’s back up. It was last November when I began following Justin & Mary on their blog and enjoying their famous pancake sessions. These pancake sessions are pack full of experience and wisdom. Justin & Mary are teachers. Their posts are clear, informative and leave little guess work. I kept coming back to the Off Camera Lighting pancake session. Reading it, taking notes, researching the pocket wizards, and re-reading it one more time. Their images using off camera lighting were beautiful…stunning. I wanted to learn more and from them. Timing was everything.
They announced back in October that they were hosting their final Lightening Intensive for the year and it would be in CT. I had watched other workshops dates go and come. I tucked away the November date and the idea that I wanted to attend. I kept thinking about the goal I set for myself to learn more about off camera lighting in the beginning of the year. Doubts and fears were two things that kept me from committing to attend. I shared my fears and desire to learn and grow as a photographer to Lyndon. These two feelings are often mixed together for me. He is the best listener and knows how to encourage and challenge my fears. He said, “go”. I packed my camera and off camera lighting gear ready to face my fears.
After introductions Mary began talking about fear and specifically fear she once associated with off camera flash too. Justin & Mary laid the foundation of why they do something before the technical how’s. It was a wonderful night sitting before the fire listening to their wisdom, answering questions, meeting other photographers in the industry, taking notes, and of course drinking hot chocolate. Justin & Mary opened their home and shared transparently their passion and hearts for photography. They promised that no one would leave without the confidence to use their flash and an off camera light. I left way past my bedtime and with confidence they gave through their Lighting Intensive. If you too are fearful of off camera lighting put it on your goal list next year to attend and fight your fear. All images below are with shot with on camera flash or off camera lightening. No natural light. ENJOY!


 the set up: Octabox and reflector for fill light.
 Tiffany of Tiffany Farley portraits joined us for the evening to be our model!
 LOVE LOVE LOVE…

 Above is a favorite for sure!!
 Tiffany you are stunning!
Another behind the scene to see how the reflector was used to bounce the light back onto Tiffany’s face.
and one below with Mary!

Model: Tiffany Farley
Make Up: Andrea Marano
Hair: Heather Grover
 . . .
. . . . . .
. . . . . .
. . .
[…] that lead to 2 hours of traffic and five inches of snow on 95 North!Cousins!!A night in Justin & Mary’s living room listening and learning by the fire!The remodel and tearing out continues! Piece by […]
beautiful! I wore the SAME shirt to the J&M workshop in DC  lol
lol
bravery pays off…they are beautiful I bet you are excited!
They look AMAZING!!!!!
hooray! sounds like such an awesome experience and I’m so happy for you! great decision
WOnderful!
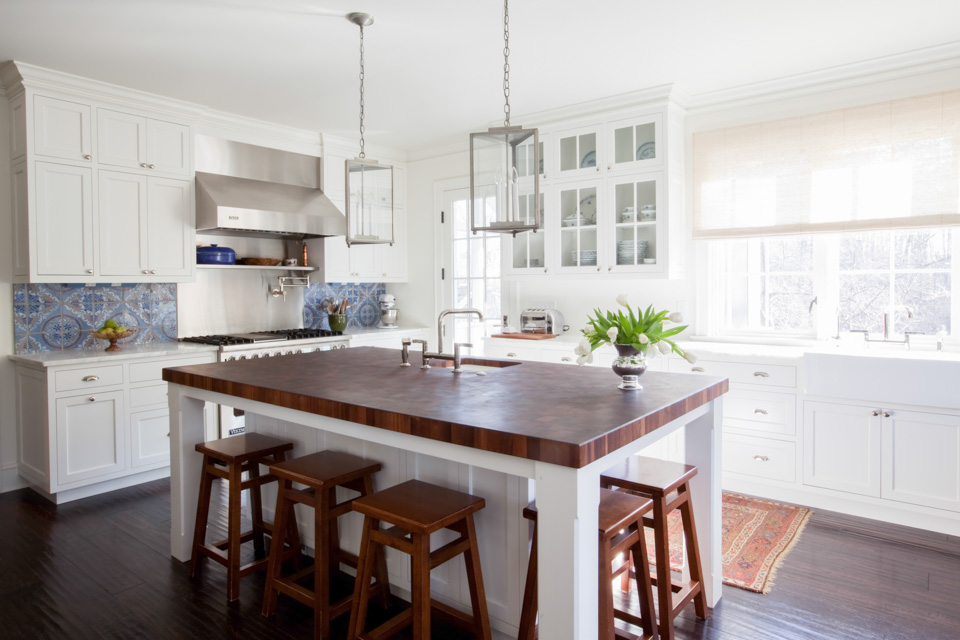
This summer when the temperatures were above 100 degree I had the honor again to work along side Amanda Austin of Amanda Austin Interiors. I spent two full days in this Federal Hill row house photographing each room. This row house was not any row house; it belongs to Amanda and her husband. The walls are covers with grass cloth, rooms are filled with both antique and contemporary pieces, and natural elements are found in each room. The rooms are full of color that reflect Amanda’s personality that is vibrant and bright.
One of the reasons that I love photography is being able to capture someone’s design and creativity. Amanda had a vision for a home when it was only a vacant lot. I want my images to reflect their energy and talent. My desire is that each photograph would truly reflect Amanda’s talents of mixing old and new, capturing the colors that reflect her personality, and seeing the natural elements that layer each room that reflect her organic living. I know Amanda who pays attention to details has spent hours designing and thinking about the layout of their row house, selecting colors, and purchasing furnishing to fill their home. Amanda shared that her “biggest wish for her clients is that they thrive in a home, rather then just live in a house”. This is the gift she offers each of her clients! Thank you Amanda for trusting me to capture your home, it is such an honor to work with you. Thank you Baltimore STYLE magazine for publishing Amanda’s home. You can read the full story here. ENJOY!!!


Amanda Austin Interiors
1020 S. Charles Street
Baltimore, Maryland
443.759.6177
 . . .
. . . . . .
. . . . . .
. . .

I’m on my way to CT today. Tomorrow I will attend Justin & Mary‘s Lighting Intensive workshop.
It was a last minute decision and I am thrilled to be able to attend.
 . . .
. . . . . .
. . . . . .
. . .
When I started photography I had no idea what an f-stop was or what the numbers I was seeing inside my camera. Through my exploration of blogs, MeRa’s Workshop and many Saturday morning to Lee’s Camera Center I began to learn and understand the numbers I was seeing. First starting with f-stop or aperture.
The basic definition for aperture is a hole or an opening through which light travel. Ok, so light travels into my camera by the set aperture number, but this definition did not really help me. I can remember when I began to understand the f-stops when Bill at Lee’s Camera drew on a piece of paper these dots. Starting with a large circle and going all the way down to a pinpoint and then putting numbers under each dot. The dot or circle represented the opening of the lens that would allow the light into the camera. The larger the opening the smaller the aperture number was assigned. For example f1.8. The smaller the opening the larger the aperture number was; like 22.
I also learned that each lens had a different aperture range. The range could be found on the ring of the lens. I started with my Canon 40d with the zoom lens 17-55mm F/4.0-5.6. Prime or fixed lens tend to have lower aperture ranging from as low as 1.2. Where as zoom lenses f-stop tend to start at 2.8 or higher.
I best understood aperture when it was described as “How blurry of a background do I want?” The lower the aperture number, the blurrier the background will be. The blurry background that is out of focus is referred to as bokeh. The lower the aperture the smaller depth of field you will have when shooting. The higher the aperture number the more detail the background of the image will hold. You will have a greater depth of field which captures all the details within your frame.
Here are some examples of the different aperture setting I have used. Over time I have found myself in love with prime lenses, especially my 50mm 1.2. I also tend to find myself shooting at the aperture 2.0. This developed over time and much practice to discover what aperture I liked to shoot. Take your time, practice and see what aperture you like your images at. You find that spot you love! If you have any questions, please ask and leave the questions in the comment section below. Hope this is helpful.

50mm 5.0 (f-stop) 1/100 iso 250
(I increased the aperture to 5.0 to ensure that bridal party on the back row would also be in focus)

50mm 3.5 1/125 iso 200
(Not everyone was on the same plane so I kept my aperture at 3.5 allowing for everyone to be in focus)

both shot with 50mm at 1.8 1/800 iso 400

35mm 4.5 1/250 iso 250
When shooting groups my aperture range is from 3.2-4.5.

left:50mm 2.8 1/250 iso 250
right: 135mm 3.2 1/640 iso 400
(I shot this one with an increased aperture as bride and groom were not on the same shooting plane)
 Both taken 50mm 2.0 1/1000 iso 400
(Notice how the background changes as I move closer to my subject)
 Above and below both taken at 85mm 1.2 1/4000 iso 400
(I do not shoot wide open often, meaning the lowest possible aperture your lens allow;
however when I do I love the images it produces)


26mm f-22 .8sec iso 400 (I use my tripod for interior shots of overall room and when the aperture is big, like 22)
More on this home later this week…

on the left: 85mm 4.0 1/60 iso 400
on the right: 85mm 2.0 1/60 iso 400
 . . .
. . . . . .
. . . . . .
. . .
Great post, Jamie! I started learning about aperture over a year ago and though I have learned so much… there’s always more to learn! At first I was in the “I have to shoot everything wide open!” excitement stage, but there are definitely times (as I’ve learned through error) when it’s wise to switch it up in order to get the best results!


As the mama, I can’t wait to see the rest!!!! Thank you, Jamie….these are lovely.
Jamie – these are amazing! I can’t wait to see the rest!!!!!!!
LOVEEEE!!!
I think I know where THAT is!
These are AMAZING Jamie!!